
Device Link
for Macbooks
Get Started

Station Setup for Macs
Erasing a Mac with Device Link
Ziperase Device Link for Macs
Quick Start Guide
You Will Need
- HDMI monitor
- USB keyboard & mouse
- Internet connection, Wi-Fi or Ethernet
- The cables & connections listed below
Good to Know
- Works with MacBook Pro, MacBook Air, Mac Mini, Mac Studio, Mac Pro & iMac. Intel and Apple silicon, M1 through M6.
- The station needs internet. Licensing and reporting run through the Ziperase Customer Portal.
- The monitor, keyboard & mouse are for setup. After that, run the station from any browser on the same network.
Get to Know Your Station
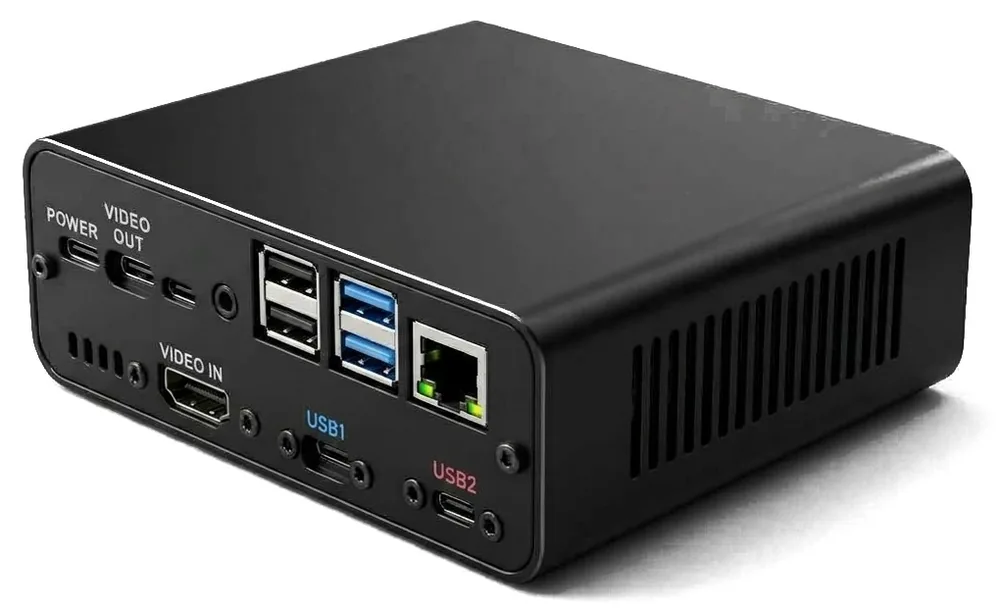
- POWER
Power adapter - VIDEO OUT
To your monitor - USB ports
Keyboard & mouse - Ethernet
Network cable - VIDEO IN
HDMI from the hub - USB1
USB-C, from the hub - USB2
Micro-B, from the hub
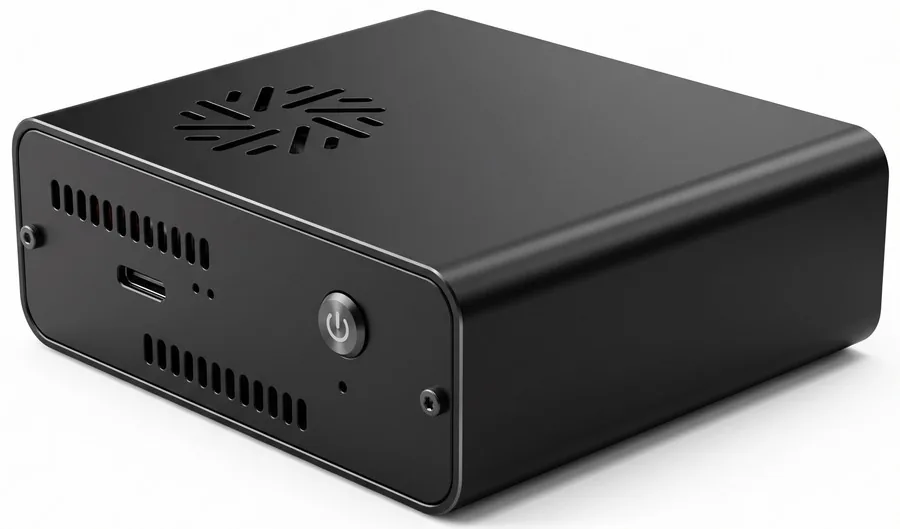
- Air vents
Cooling - Power button
Press to start the station
Cables & Connections
Each number matches the connection diagram below.

1Station power adapter (USB-C)

2Micro-HDMI to HDMI cable

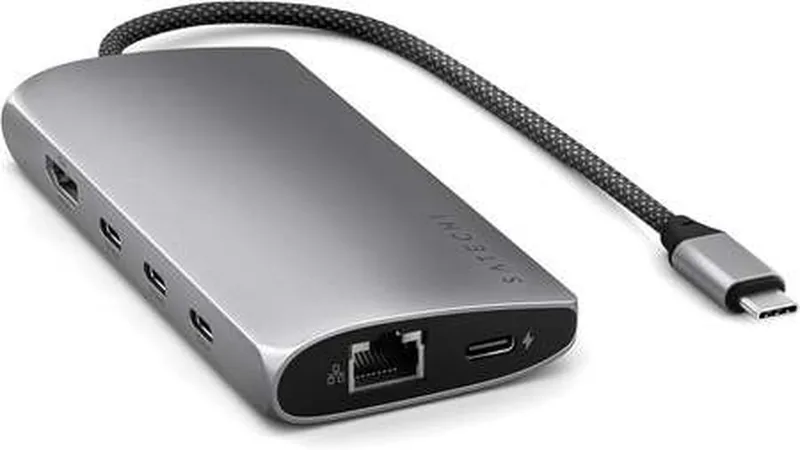
3USB-C multiport hub

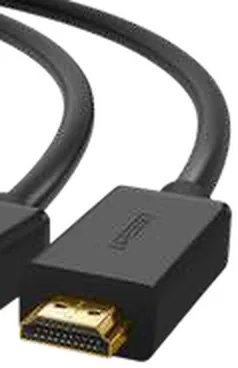
4HDMI cable

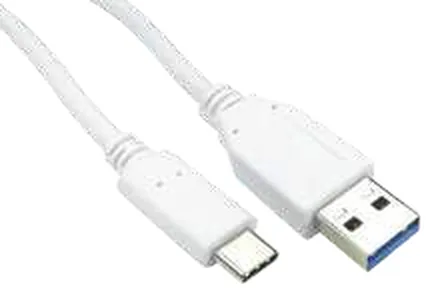
5USB-A to USB-C cable

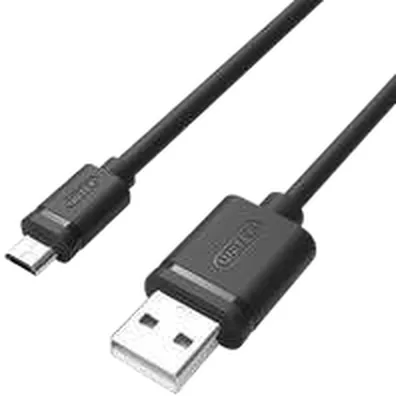
6USB-A to Micro-B cable

7USB-C to USB-A adapters (x2)

8macOS install drive (32GB USB)
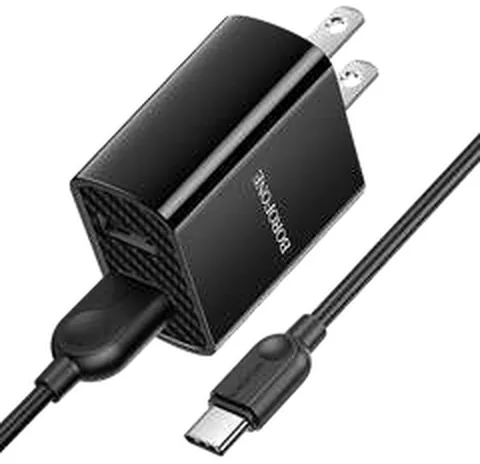
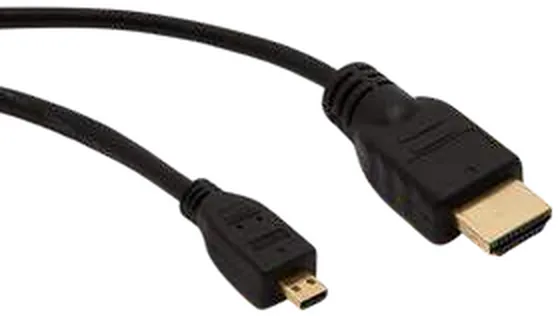
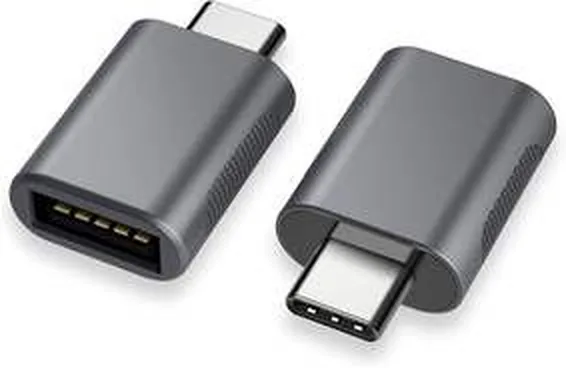
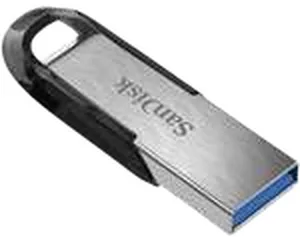
Also needed. 9Ethernet cable 10MacBook power adapter
Connect the Station
Monitor. Connect VIDEO OUT to your monitor with the Micro-HDMI to HDMI cable (2).
Keyboard & mouse. Plug them into the black USB ports. Use wired or wireless USB models. Bluetooth is not supported.
Network. Plug an Ethernet cable into the station. To use Wi-Fi, join it during First Start.
Power. Plug the station power adapter (1) into POWER.
Connect the Cable Set
Build the cable set once and leave it on the bench. Only the hub and the install drive move from Mac to Mac.
| 1 | Station power adapter (USB-C) |
| 2 | Micro-HDMI to HDMI cable |
| 3 | USB-C multiport hub |
| 4 | HDMI cable |
| 5 | USB-A to USB-C cable |
| 6 | USB-A to Micro-B cable |
| 7 | USB-C to USB-A adapters (x2) |
| 8 | macOS install drive (32GB USB) |
| 9 | Ethernet cable |
| 10 | MacBook power adapter |
Power order. Keep the MacBook power adapter (10) unplugged from the hub until the station has started and shows its main screen.
Licenses
Licenses sit in a pool in your Ziperase Customer Portal account. The station draws one from the pool, over the internet, each time you start a session.
First Start
Power on. Press the power button on the front of the station and wait for the main screen.
Connect MacBook power. Plug the MacBook power adapter (10) into the hub.
Note the Station name. Open Manage, then Network. The name includes the station serial number, and each station needs its own.
Check the connection. Internet access should read Connected. For Wi-Fi, click Refresh, select your network, type the passphrase and click Connect.
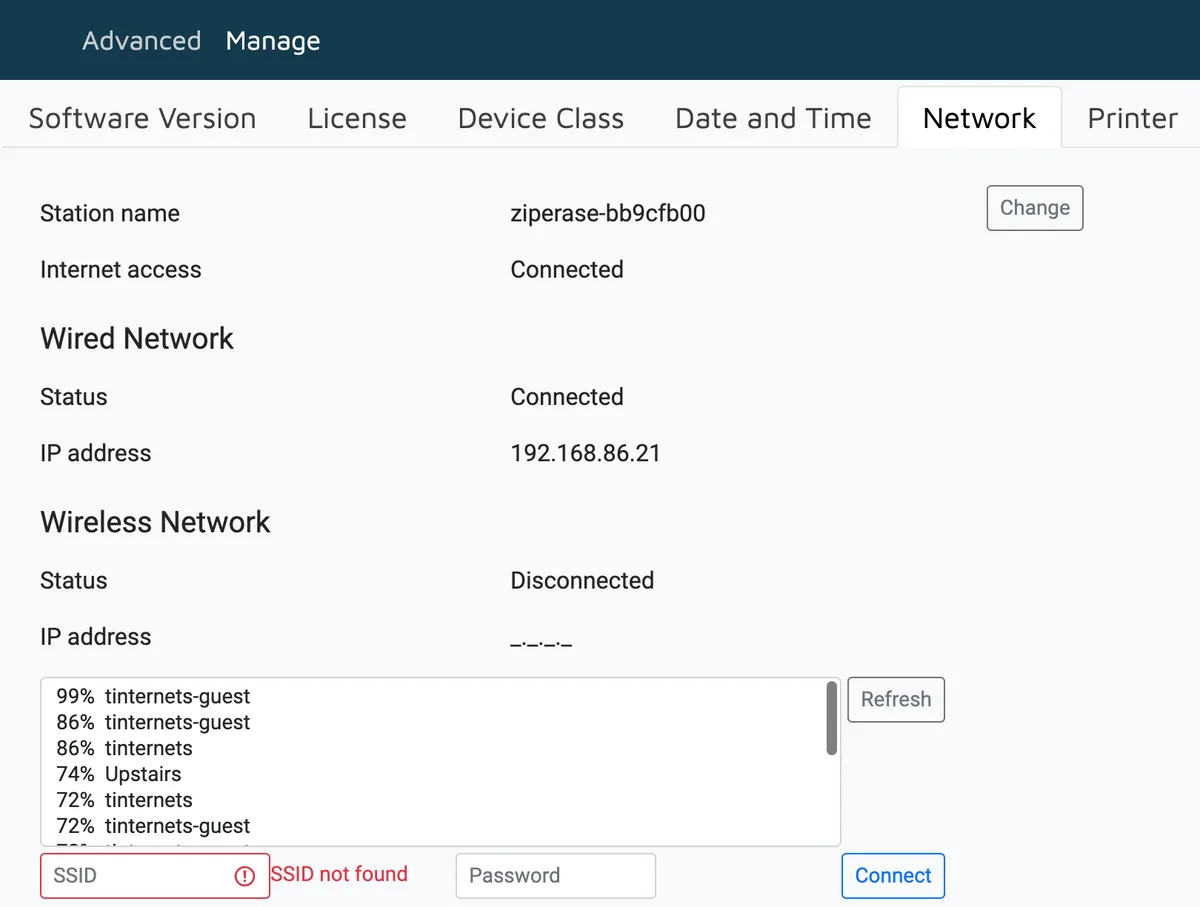
- Station name
Appears in every report - Internet access
Should read Connected - Wi-Fi
Refresh, select, Connect
Update the software. Open Software Version and click Check for update. If an update is available, click Install update. The new version is ready to use straight away.
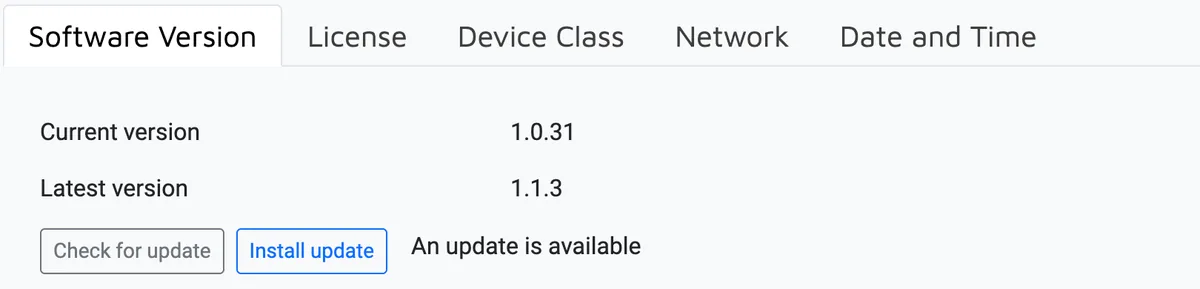
- Update status
Shows when one is ready
Process a Mac
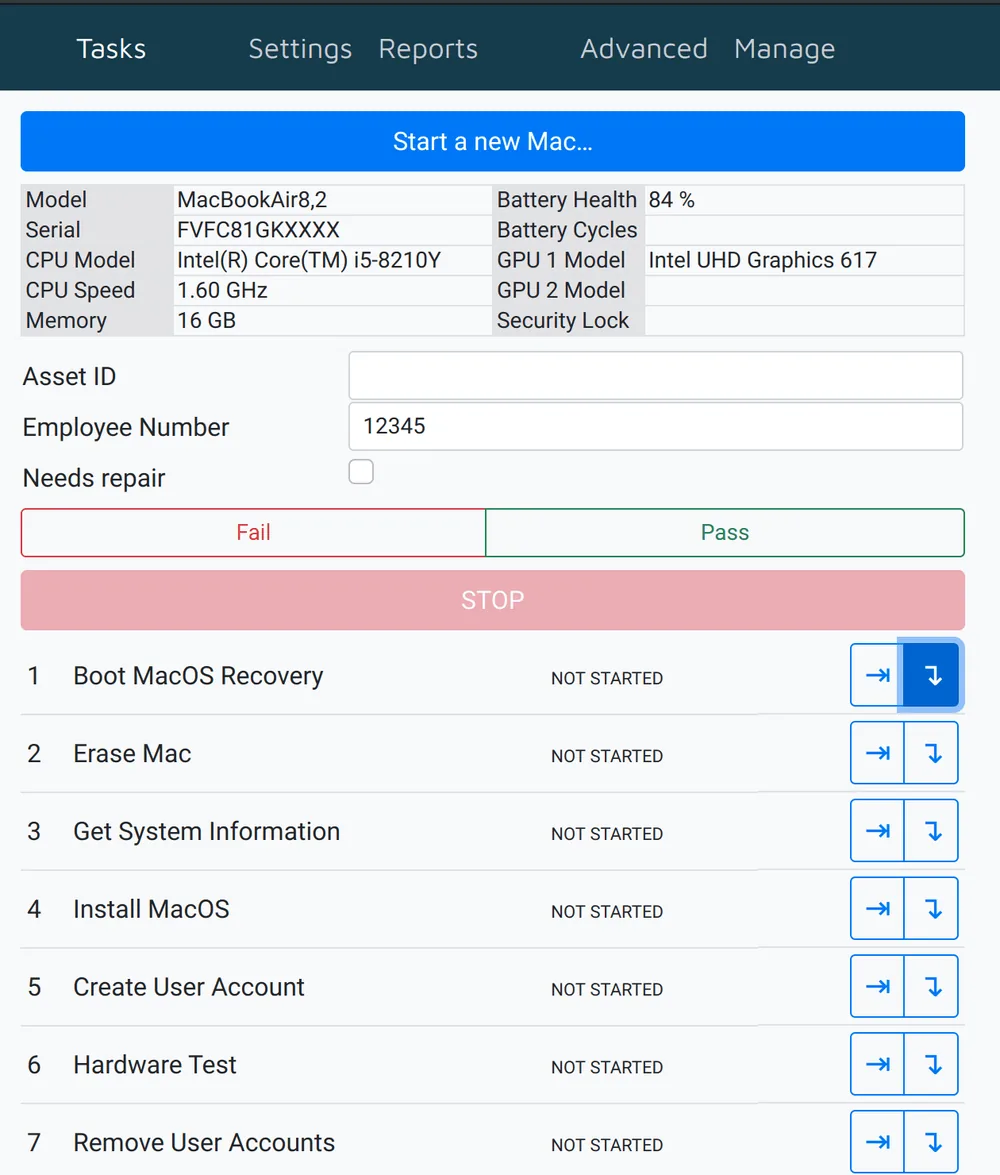
- Start a new Mac…
Opens a session - Mac details
Collected during the sequence - Extra fields
Your own fields, such as an asset ID - Fail / Pass
Closes the session - STOP
Stops the current task - Run buttons
Left runs one task. Right runs it and continues. - Tasks
The steps of the sequence, in order
Start a session. On the Tasks page, click Start a new Mac… before you connect the Mac. The session stays open until you click Pass or Fail.
Connect the Mac. Plug in the hub and the install drive. The Mac must be powered off, with the lid open on a MacBook.
Run the sequence. Click the right-hand run button on task 1. The station works through every task in order.
Pass or Fail. When every task is complete, click Pass or Fail to close the session. Remove the Mac and start the next session.
http://[station name].local:8086.On-Screen Alerts
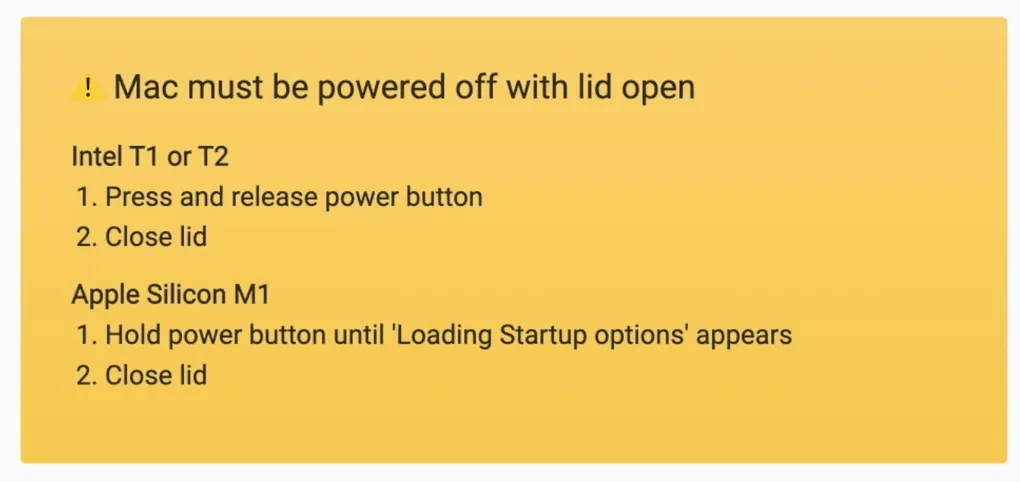
Yellow alert. The station needs you to do something. Follow the instructions shown.
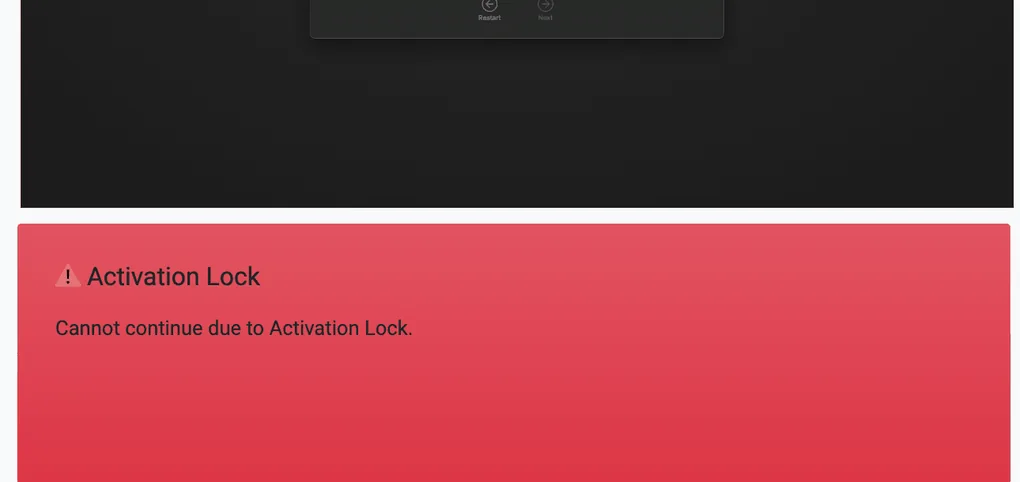
Red alert. An error or warning. The message names the issue, such as Activation Lock.
Reports & Support
The station keeps its last 12 reports under Reports. Every report also syncs to the Ziperase Customer Portal, where it joins the reports from your other stations.
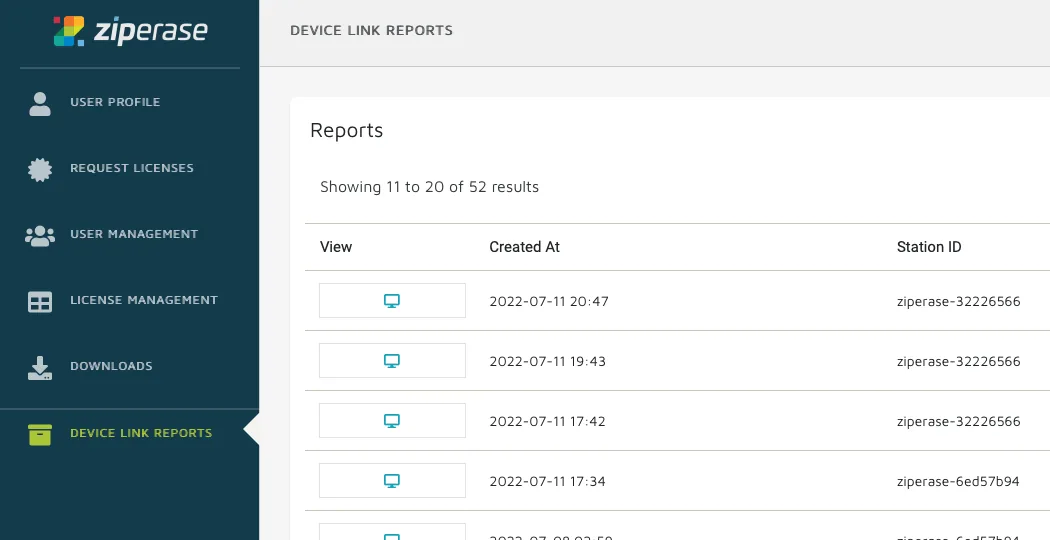
- Downloads
User Manual - Device Link Reports
All station reports


Certified
Automated
Data Erasure
- Patented Erase, Reinstall & Test Automation
- Apple Silicon (M1 to M6) & Intel Macs
- Activation Lock Verification
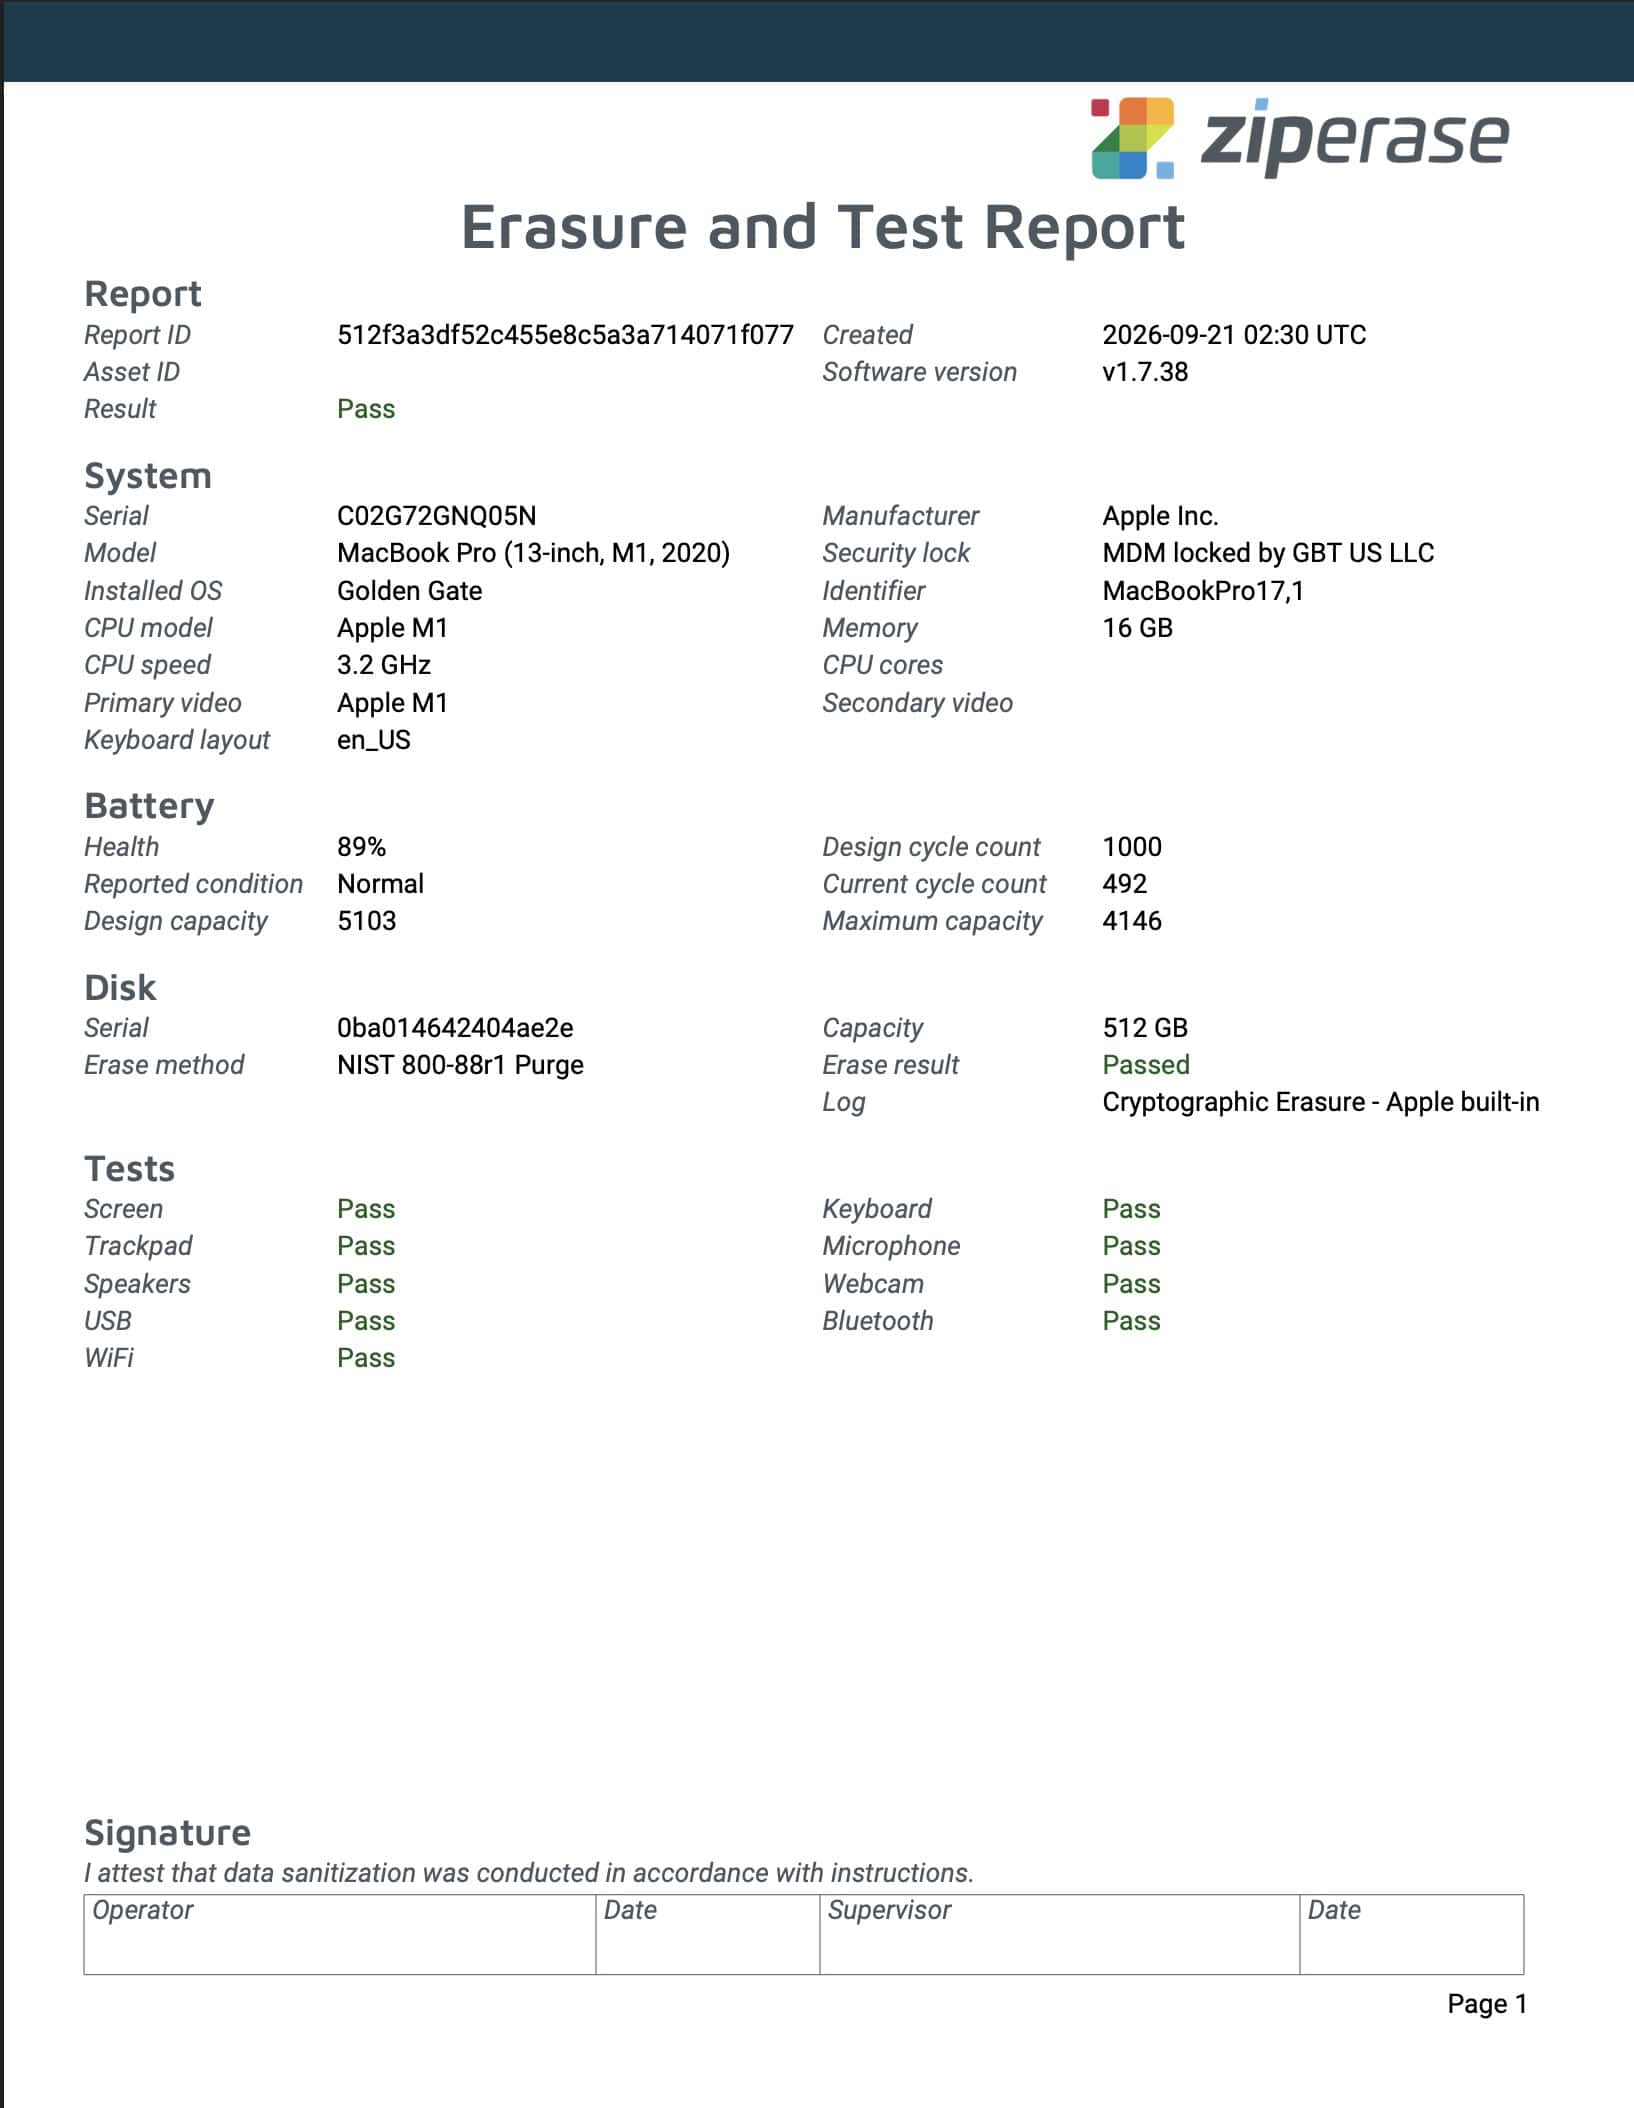
- R2v3 Hardware Testing & Battery Health
Certified

Standards


For Mac

ADISA Product Claims Level 4 certified. R2v3-compliant hardware testing.
Erasure verified to NIST SP 800-88 R2 & IEEE 2883:2022.

Certified
Automated
Data Erasure
Mac Compatibility
- MacBook Pro, MacBook Air, Mac Mini, Mac Studio, Mac Pro and iMac
- Apple silicon M1 through M6 and Intel processors (T1, T2 and Legacy)
- macOS 11 Big Sur through macOS 27 Golden Gate
Patented Automated Workflow
- Erasure, macOS reinstall and hardware testing in one automated sequence
- On-screen prompts guide any technician through each step
- Recovery Hardware Test skips the reinstall for a cycle of about 7 minutes
Activation Lock & macOS Reinstall
- Firmware lock and Activation Lock checked at the start of every sequence
- A locked Mac stops the process, with its lock status recorded in the report
- macOS installed from USB media, leaving the Mac at Apple’s first-setup screen
R2v3 Hardware Testing
- Keyboard, trackpad, screen, webcam, microphone, speakers and battery
- Every key pressed in the keyboard test, plus optional Apple Diagnostics
- e-Stewards battery test confirms battery status after 10 minutes at full load
Reporting & Auditing
- Tamper-proof, digitally signed erasure certificate for every Mac
- Records serial number, system specifications, lock status and test results
- Battery health, cycle count, cosmetic grade and custom fields such as asset ID
Integration & Deployment
- Reports sync automatically to the Ziperase Customer Portal, separated by group
- REST API pulls reports from the Portal into your ERP and internal systems
- The same station can be set up for Device Link for Chromebooks
Certification & Compliance
- ADISA Product Claims Level 4 certified
- Erasure to NIST SP 800-88 R2 and IEEE 2883:2022 standards
- Every erasure follows official Apple security practices
- Supports data disposal requirements worldwide, including GDPR, UK GDPR, HIPAA, PCI DSS, FERPA, Australia’s Privacy Act and Singapore’s PDPA
October 2026
Copyright © 2026 Ziperase LLC All rights reserved
The Ziperase Device Link is a hardware appliance that securely erases Apple Mac devices and game consoles by automating various processing tasks. It uses video output and emulates a keyboard, mouse, and USB storage to provide an automated workflow for erasure and diagnostics.
For instance, Device Link will erase a MacBook, capture system information, perform hardware testing on the keyboard, touchpad, sound, video, and screen, and reinstall the macOS operating system automatically with limited operator involvement.
- Go to the “Manage” tab on the Device Link software.
- Then go to “Network” and click “Refresh” to refresh the list of WiFi SSIDs.
- Select one of the SSIDs in the list.
- Type in the WiFi passphrase.
- Click “Connect”.
After connecting to the network, the status will show as “connected” and the station’s IP address will be displayed in the “Wired Network” section.
You can use this IP address to connect to the station from any browser on the local network. For instance, http://192.168.86.34:8086.
Note that the IP address is set by DHCP, but if a static IP is required, it should be configured on the DHCP server/router.
The Ethernet connection is set up with DHCP, which automatically assigns an IP address when connected to a network. You can view this assigned IP address in the user interface.
Note: If needed, you can assign a static IP address to the station by creating a static reservation. Once a static IP address is set, you can use it to connect to the station from any browser on the local network by entering the address in this format: http://192.168.86.34:8086, for example.
The Device Link station is shipped with the latest software version. However, if a newer version is released before its first boot, it’s recommended to update it right away.
There are two ways to do this:
- Once the Device Link is set up and connected, the station will check the Customer Portal every few minutes.
- You can update manually by following these steps:
- Click the “Manage” tab to open the management page.
- Click “Check for update” to get the latest update status from the Customer Portal.
- If an update is available “An update is available” will be shown.
- Install the update by clicking “Install Update”.
- The update package will be fetched and installed. There is no need to reboot – the latest version of software is available to use right away.
- You can also find a link in the upper right corner of the navigation bar, as shown below, that will prompt you to update if there is one available.

Yes, Device Link functions as an internet-connected device. It communicates directly with the Ziperase Customer Portal for licensing and reporting purposes. Each unit sends reports of completed activities to the cloud, where they are merged with reports from other Device Link stations in the same group. The device can connect to the internet using either Ethernet or Wi-Fi.

When you buy licenses for Device Link, they’re added to a pool in the Ziperase Customer Portal. Your Device Link unit is configured to automatically debit licenses from your Customer Portal account.
- To view the number of licenses you have on the license page:
In the Device Link GUI, Click “Manage” to open the management page. - Click “License” to open the license tab.
- To update the license count, click “Check now”.

Yes, Ziperase offers a REST API that you can use to access reports and integrate them with your internal systems.
API requests are authenticated using an application token. To create a token:
- Log in to Ziperase Customer Portal.
- Navigate to the User Profile page.
- Choose “Set” in the Application API Key panel.
- Now make a copy of the API key and keep it secure, just as you would a password.
Note:
- If you leave this page on the Portal, you won’t be able to get the key again.
- If the key is lost or stolen, you can remove or reset it and create a new one.
- To get access to the data using the API, send the key as the value of the X-API-KEY header in every HTTP request.
Each Device Link box has a user-defined/editable parameter called “Station name” that can assist in this use case. To access this parameter, click on the “Manage” top menu item and then select the “Network” tab (refer to the image below for an example). By pressing the “Change” button, you can update the Station name. We suggest using your location name along with a unique number to designate each box, as illustrated in the example below, “AustinLab-01“. 